Website & Online Presence
How to Create a Professional Link in Bio for Instagram
Build a clear, mobile-friendly page that helps profile visitors find your work, join your audience, or take the next step.
By Hubpage Editorial Team · November 2, 2026 · 6 min read
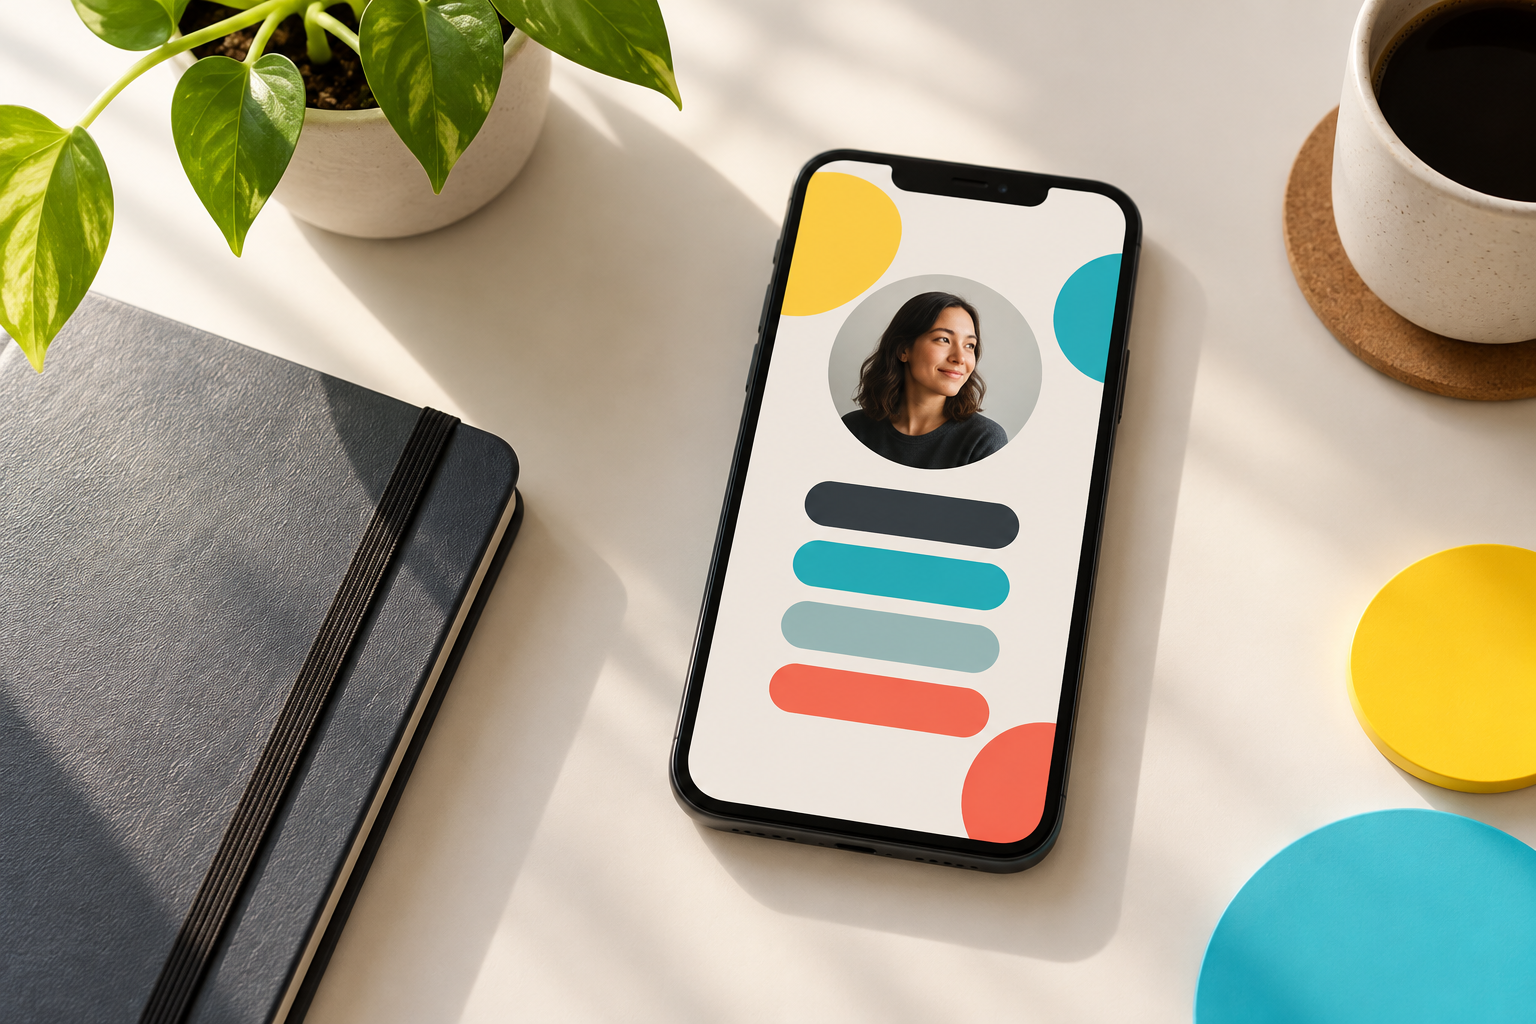
Someone watches your Reel, checks your profile, and taps your bio link. What happens next?
If they land on a cluttered page with twelve equally important buttons, you’ve handed them a sorting task. If they land on a clear introduction and a few relevant choices, they can quickly find a reason to keep going.
A professional link in bio for Instagram isn’t about elaborate graphics. It’s about making the transition from interested follower to subscriber, client, or customer feel straightforward. Here’s how to build one that earns its place on your profile.
1. Decide what your bio link needs to accomplish
Before choosing colors or adding links, finish this sentence: “The most useful thing an Instagram visitor can do next is ______.”
Your answer should reflect your current business priority, not everything you might offer someday.
- Freelance designer: View relevant work and submit a project inquiry.
- Creator: Join an email list for a specific recurring resource.
- Founder: Explore a product demo or join a waitlist.
- Consultant: Understand the offer and request an introductory conversation.
You can support secondary actions, but choose one primary action. That decision makes the rest of the page easier to write and organize.
Match the destination to your Instagram content
If your recent posts teach freelance pricing, a pricing worksheet is a natural next step. A generic homepage with no mention of pricing makes visitors hunt for the connection.
Check your last several posts. What would someone arriving from those posts expect to find? Make that resource or offer easy to spot, using the same name you used on Instagram.
2. Choose a direct link or a dedicated bio page
You don’t automatically need a separate link page. If you’re promoting one workshop and nothing else matters this month, linking directly to its registration page may be the clearest option.
A dedicated bio page becomes useful when visitors have several legitimate reasons to click: exploring your services, reading your latest guide, joining your audience, or finding a resource mentioned in a post.
Instagram supports multiple profile links, though interface details can change. Native links may be enough for a small set of destinations. A dedicated page gives you more control over the introduction, visual hierarchy, and context around those choices.
Choose tools based on the job
Look for a mobile-friendly layout, straightforward editing, readable buttons, and support for your actual needs. If audience signup matters, check whether the tool supports signup directly or requires a link to another service.
This overview of link-in-bio tools for creators is a useful starting point for evaluating options.
Hubpage brings your links, audience signup, and interactive quizzes or polls onto one personal page. Email campaigns, CRM automation, and product selling aren’t available in Hubpage today. If those are part of your workflow, plan for separate services rather than assuming a bio page replaces them.
3. Write a short, recognizable introduction
Your visitor should immediately know they reached the right person. Use the name, profile photo, and general visual style they just saw on Instagram.
Then add a short description that explains who you help and what you do. “Helping brands thrive” sounds polished but gives people very little to work with.
A more useful version might be: “I design clear, approachable websites for independent consultants.” It identifies the service and the audience without making visitors decode your positioning.
Use a simple introduction formula
- Name: Maya Chen
- What you do: Website designer for independent consultants
- Next step: Explore recent projects or tell me what you’re building.
Keep the introduction compact. On a phone, a long biography can push the useful part of the page out of view. Save your full story for an About page.
4. Arrange links around visitor priorities
Start with three to five useful destinations as a working limit, not a rigid rule. Every link should have a clear reason to be there.
A freelance designer’s page could follow this order:
- Tell me about your website project — the primary business action.
- See three recent client websites — evidence for visitors still deciding.
- Get the website planning checklist — a useful option for people who aren’t ready to hire.
- Read about my process — context for common questions.
Notice that each choice serves a different level of readiness. You’re not forcing every visitor into a sales conversation.
Write labels that describe the destination
“Click here,” “Explore,” and “My stuff” make visitors guess. Prefer labels such as “Download the freelance pricing worksheet” or “Watch the five-minute product demo.”
If a worksheet requires an email address, say so near the signup. If a call is a paid consultation, don’t label it as a casual chat. Professionalism includes setting accurate expectations.
For layout inspiration, review these link-in-bio examples and focus on how clearly each page communicates its priorities.
5. Design for a phone, not your desktop
Build and preview the page on an actual phone. Desktop previews can hide awkward spacing, tiny text, and buttons that are difficult to tap.
- Use readable text. Avoid decorative fonts for descriptions and button labels.
- Maintain contrast. Pale text on a pale background may look subtle but be hard to read.
- Give buttons breathing room. Adjacent links shouldn’t be easy to tap accidentally.
- Limit visual competition. One accent color is often enough to highlight the primary action.
- Keep images purposeful. A recognizable portrait or relevant project image usually does more work than a large decorative banner.
Check whether the introduction and primary action appear without excessive scrolling. Also test with larger text settings if possible; a page shouldn’t depend on everyone using the smallest default type.
6. Give audience signup a specific purpose
If you want visitors to subscribe, explain what they’ll receive. “Join my newsletter” describes a format, not a reason to care.
Try something concrete: “Get one practical website improvement each Friday.” Only promise that schedule if you can maintain it.
Ask for the information you actually need, explain how you’ll use it, and provide an accessible privacy notice. For a basic signup, an email address may be sufficient.
Keep signup distinct from a project inquiry. Someone requesting a quote shouldn’t unexpectedly become a marketing subscriber. If inquiries are your priority, Hubpage for professionals provides more context on using a personal hub for lead capture.
7. Add the link to your Instagram profile
Once the page is published, copy its public URL. In Instagram, open your profile, choose Edit profile, find Links, and look for the option to add an external link. Labels and placement may vary by app version or account.
Paste the URL, add a descriptive title where available, and save. Use Instagram’s dedicated link field rather than relying on a URL typed into your bio text.
Update the bio itself to explain why someone should tap. “Website checklist + project inquiries ↓” is more informative than “Link below.”
8. Test the entire journey and keep it current
Open your profile as a visitor would and tap through using Instagram’s in-app browser. Don’t stop at checking whether the first page loads.
- Does every button reach the correct destination?
- Do forms work without requiring an unexpected login?
- Does the signup confirmation explain what happens next?
- Are expired offers and outdated availability removed?
- Does the page still match what your recent posts promise?
If your tools provide analytics, compare link taps with meaningful outcomes such as completed signups or qualified inquiries. Where supported, use campaign parameters on destination URLs to distinguish Instagram traffic. Test that those parameters don’t break the links.
Review the page whenever your offer changes, and give it a quick check each month. A professional Instagram bio link is a maintained front door: recognizable, easy to navigate, and honest about what’s on the other side.